Easily Build Your Personalized ChatGPT Service on demo.cdc.datenfab.com
In the field of artificial intelligence, personalized chatbots are rapidly emerging as a new trend favored by tech enthusiasts. These chatbots go beyond simple Q&A interactions, leveraging deep learning to understand user behavior and preferences, offering more precise and personalized services to meet diverse user needs.
On demo.cdc.datenfab.com, you can deploy your private ChatGPT web application with just one click, seamlessly connecting with intelligent services. Whether using Meta-Llama-3-8B, Qwen2-7B-Instruct, or GLM-4-9B-Chat, these advanced AI models deliver efficient and customized conversational experiences. With the support of these powerful models, your personalized chatbot becomes more intuitive, providing smarter, more thoughtful assistance in both work and everyday life.
Instructions:
1. Download the Example Code
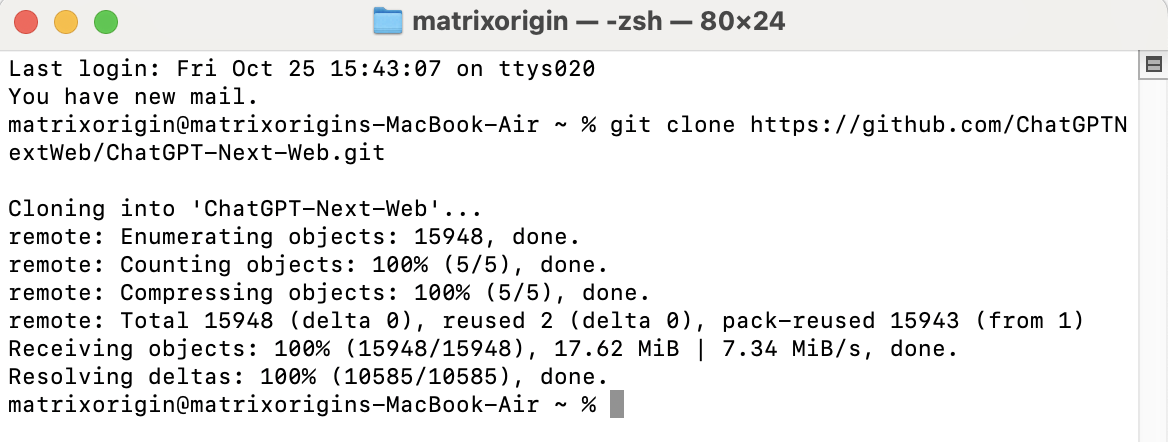
Open the terminal and enter the following command to download the example code:
git clone https://github.com/ChatGPTNextWeb/ChatGPT-Next-Web.git
2. Install Dependencies
Node.js
Verify Installation:
Open the command line or terminal and enter the following command to verify if Node.js is installed successfully:
node -v
npm -v
yarn
- macOS and Linux: Use the following command to install Yarn:
curl -o- -L https://yarnpkg.com/install.sh | bash - or use npm to install Yarn:
npm install --global yarn - Verify Installation:
yarn --version
3. Get Your API Key
-
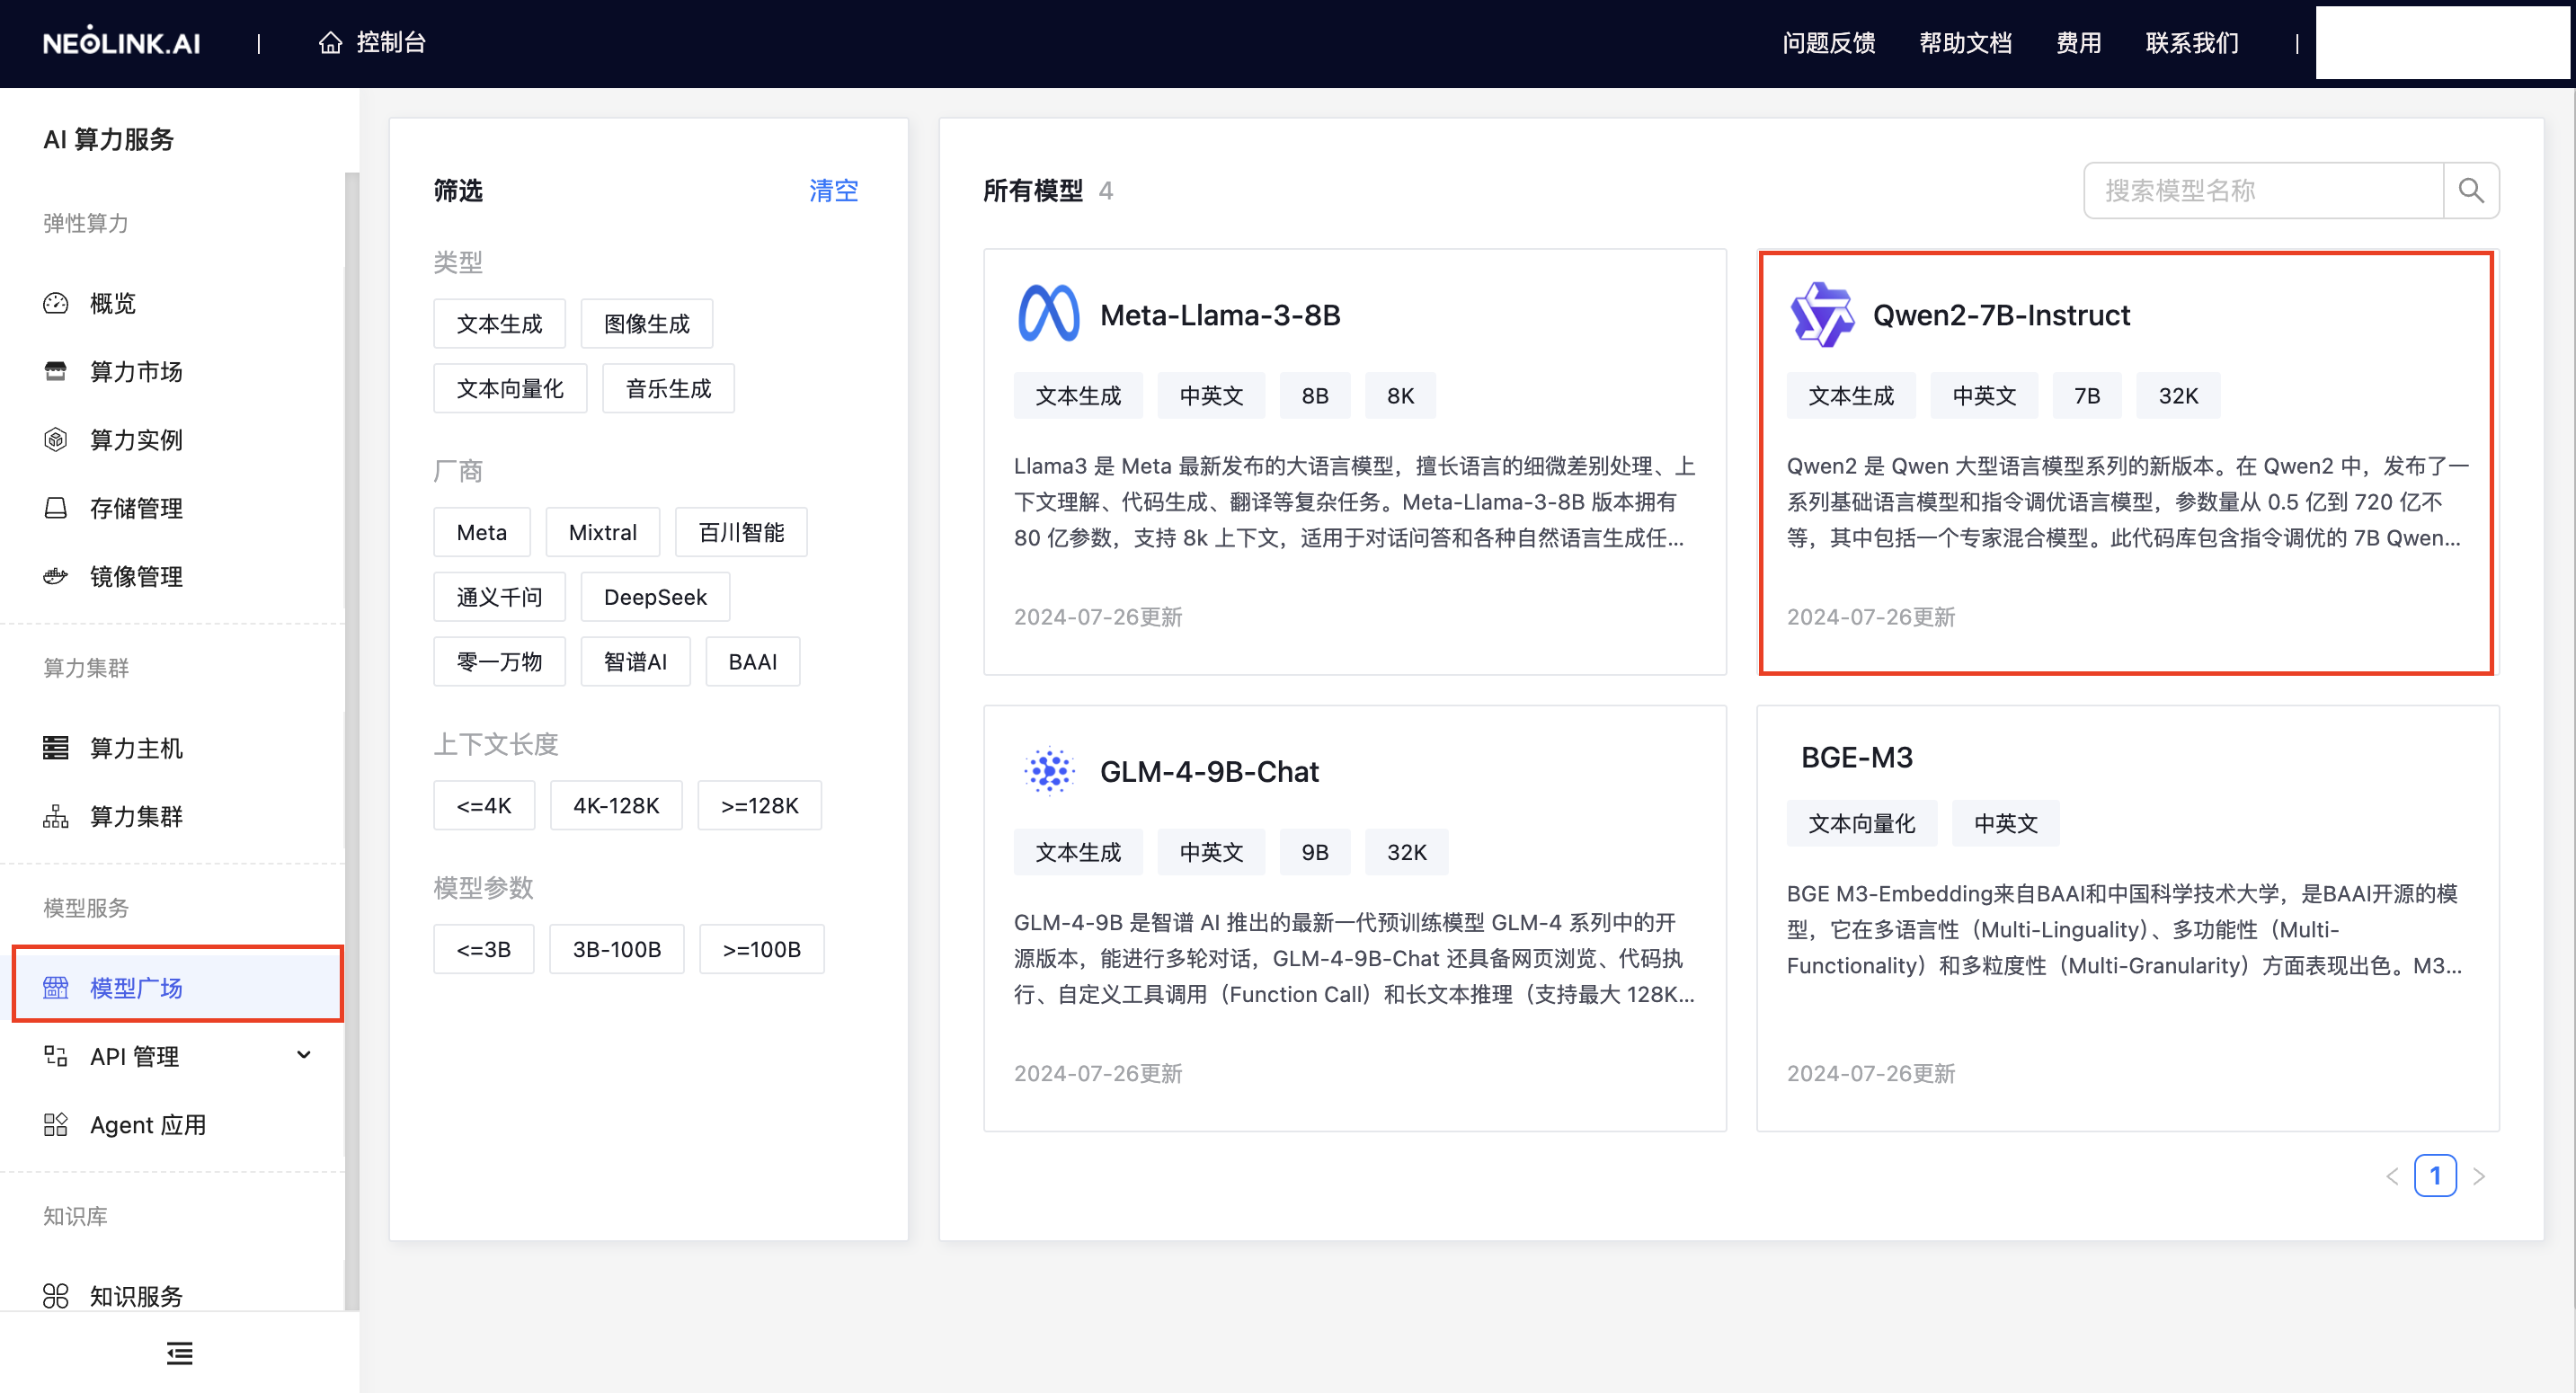
Register and log in to the Datenfab.ai website. Navigate to the console, and click Model Plaza in the left sidebar to choose the model you need. Here, we use Qwen2-7B-Instruct as an example.
-
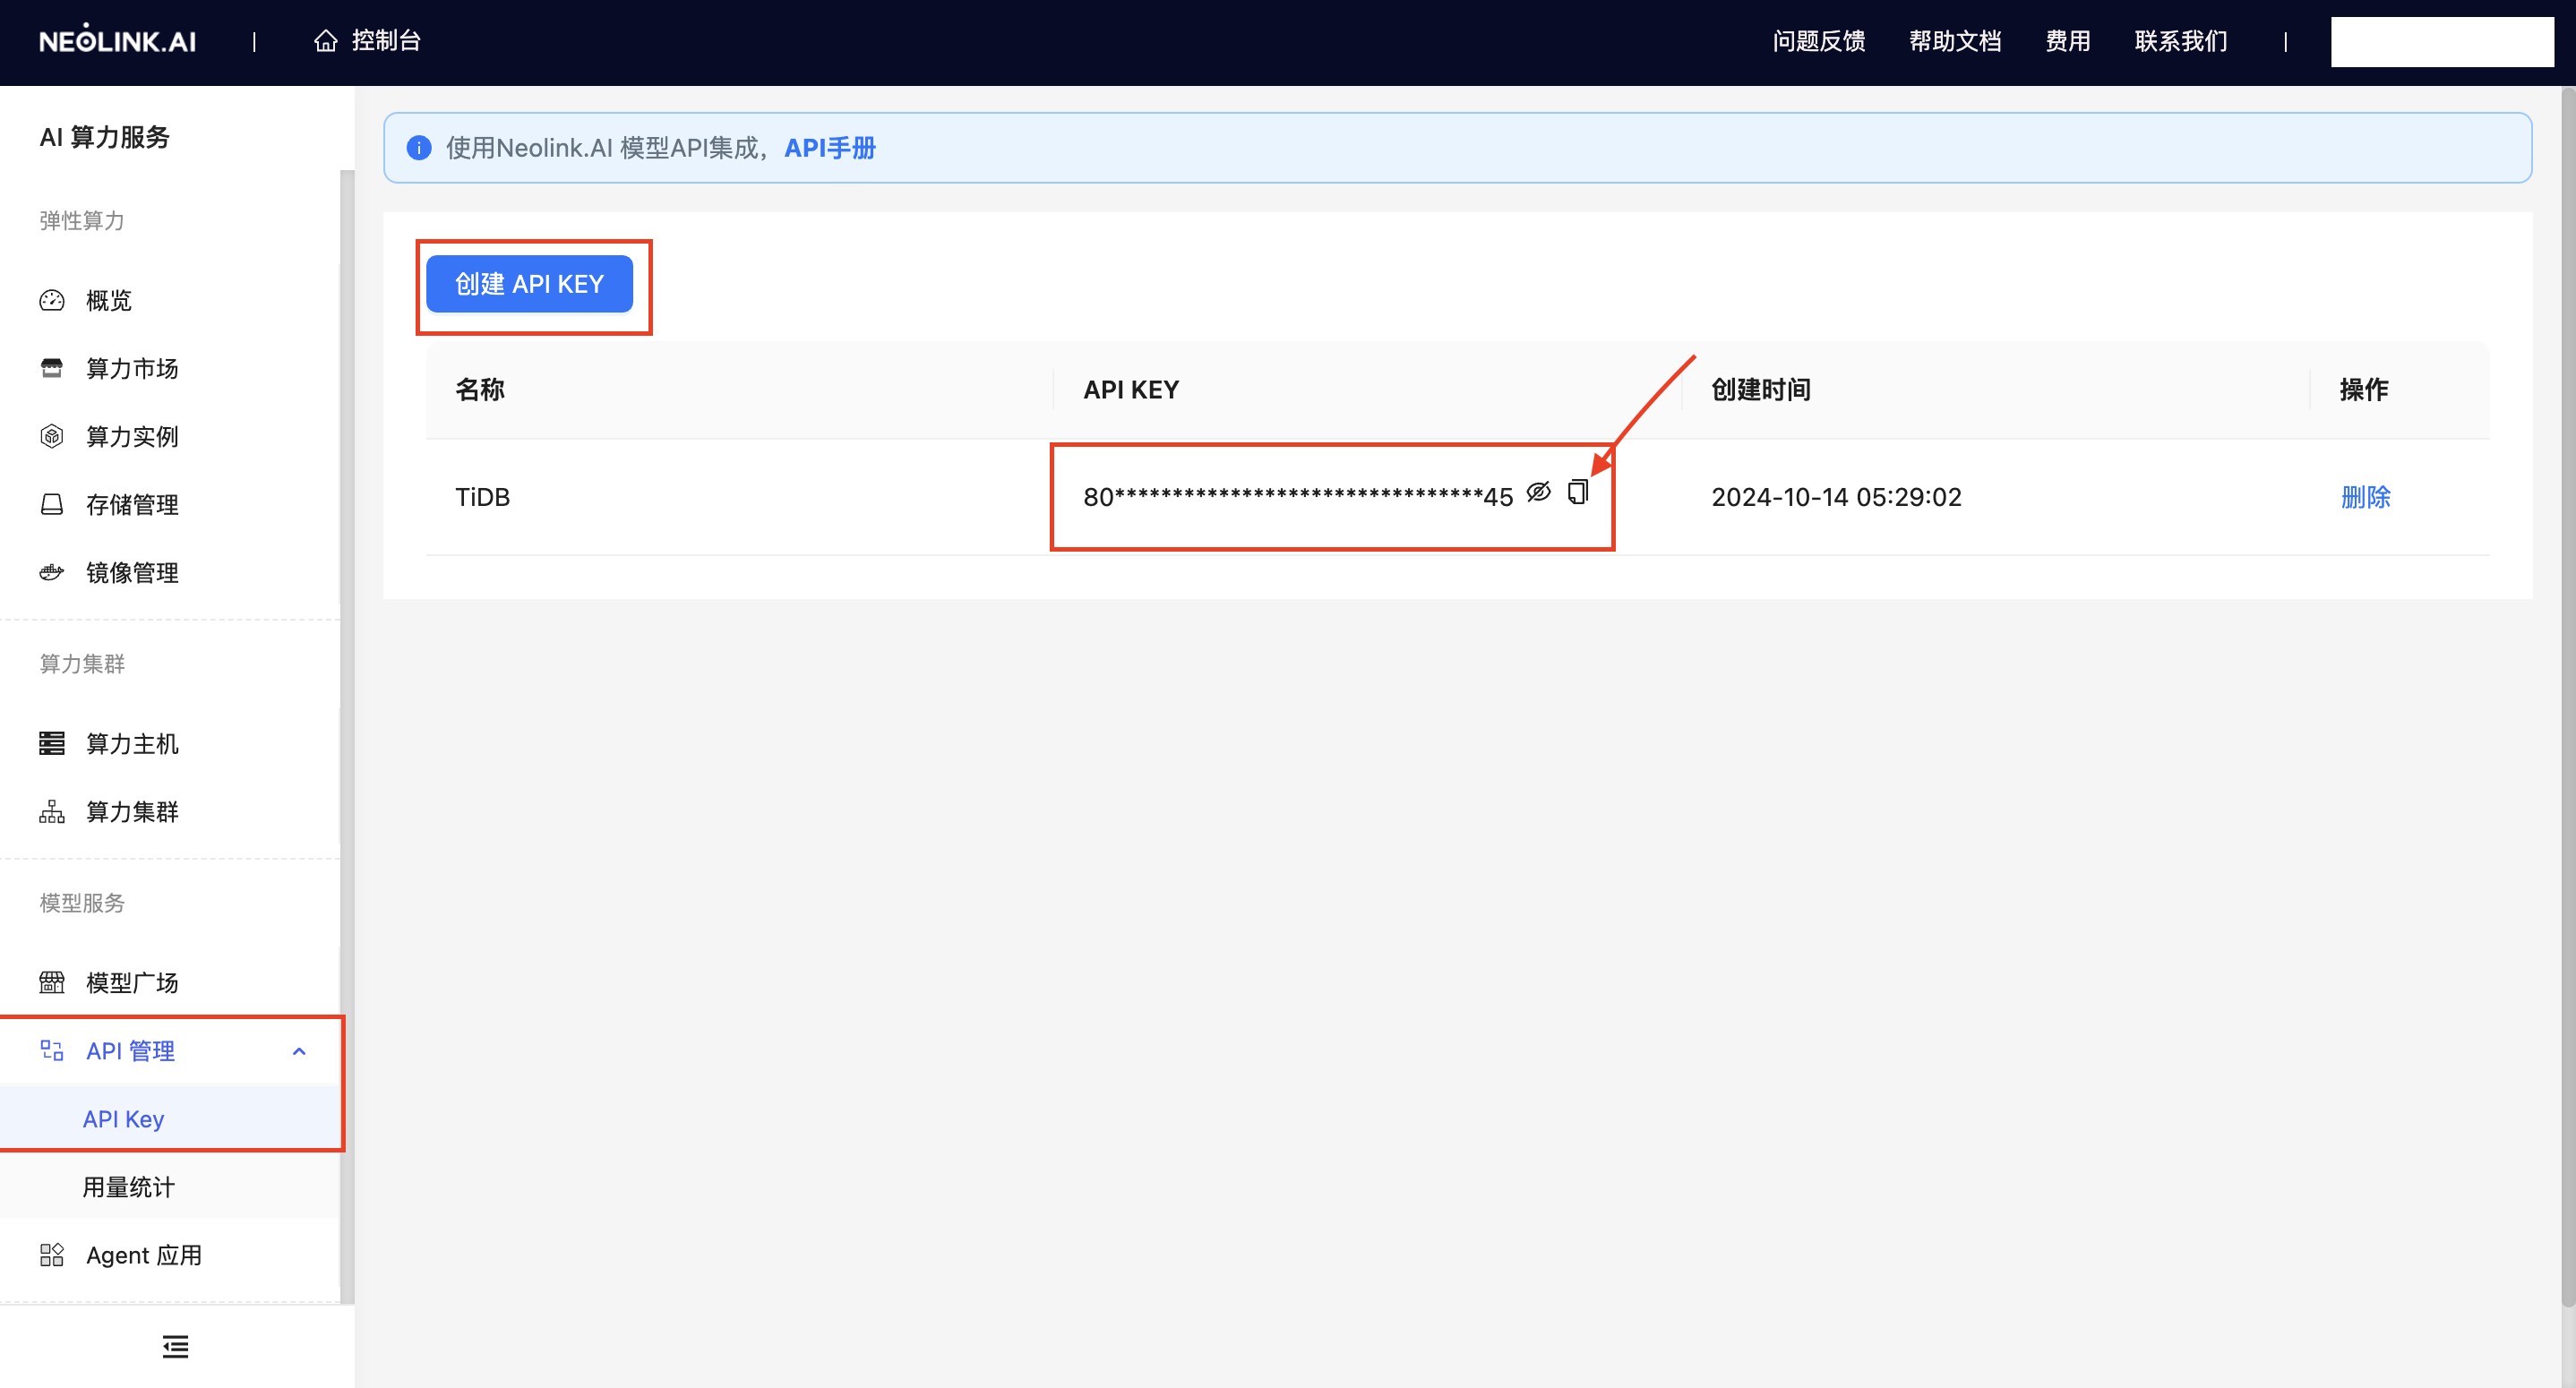
In the console homepage, click API Management from the left sidebar and create your own API Key.
4. Modify Configuration
-
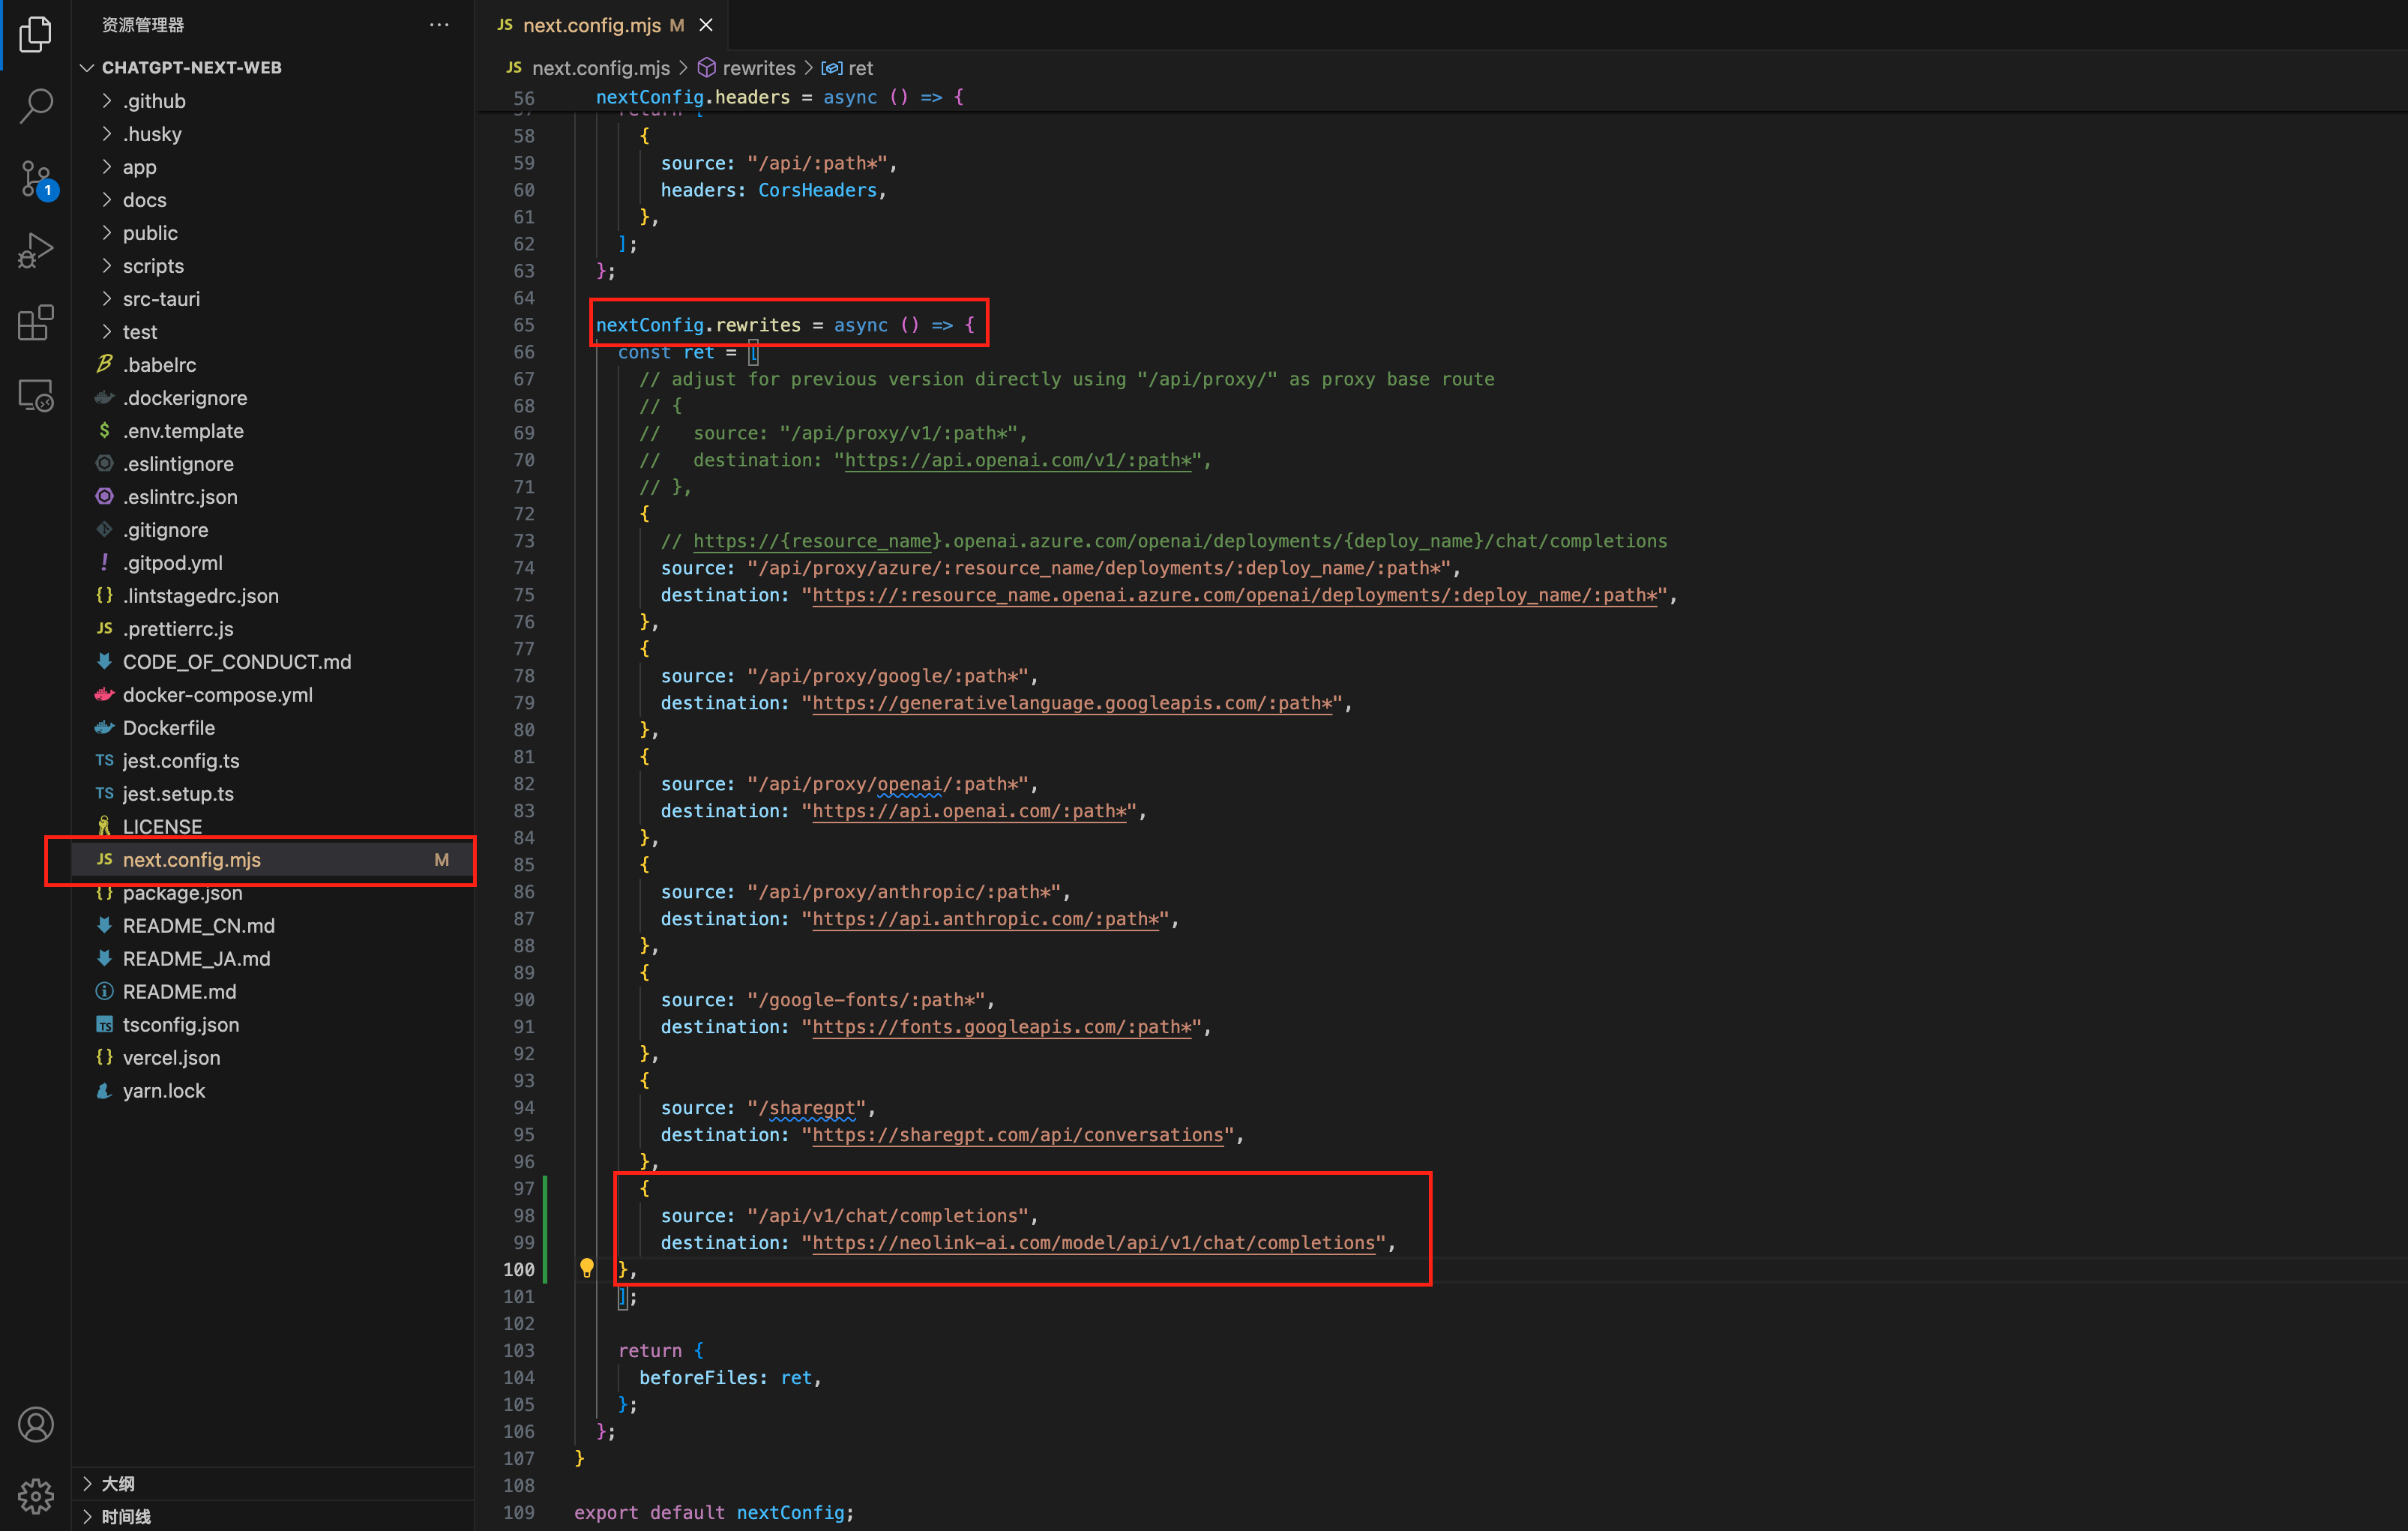
Open the downloaded files and locate the
next.config.mjsfile. Add the following afternextConfig.rewrites = async () => {:{
source: "/api/v1/chat/completions",
destination: "https://demo.cdc.datenfab.com/model/api/v1/chat/completions",
}
-
Copy the
.env.templatefile and rename it to.env.local.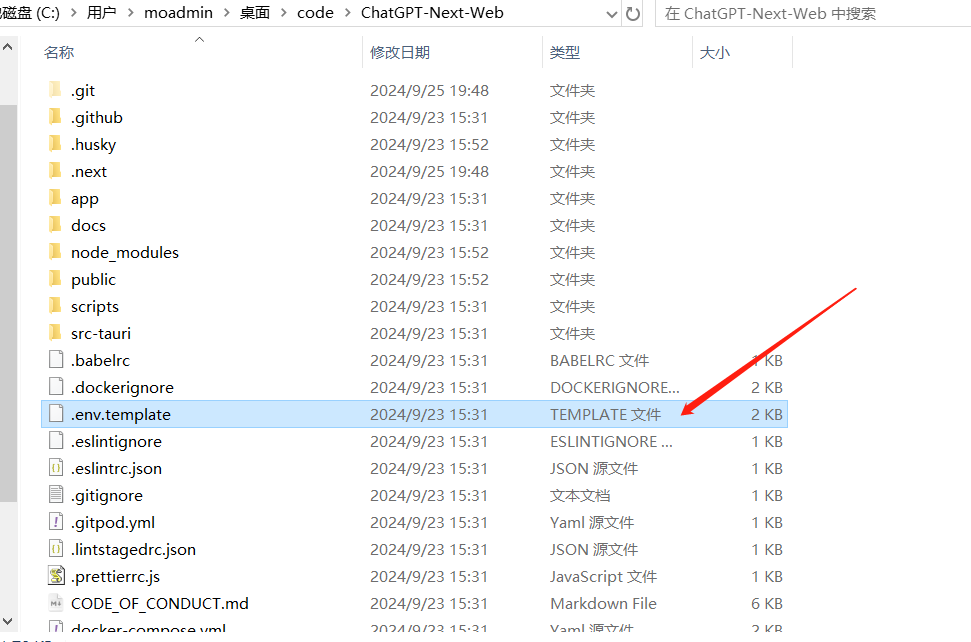
-
Modify the configuration in
.env.local:BASE_URL=https://demo.cdc.datenfab.com/model/api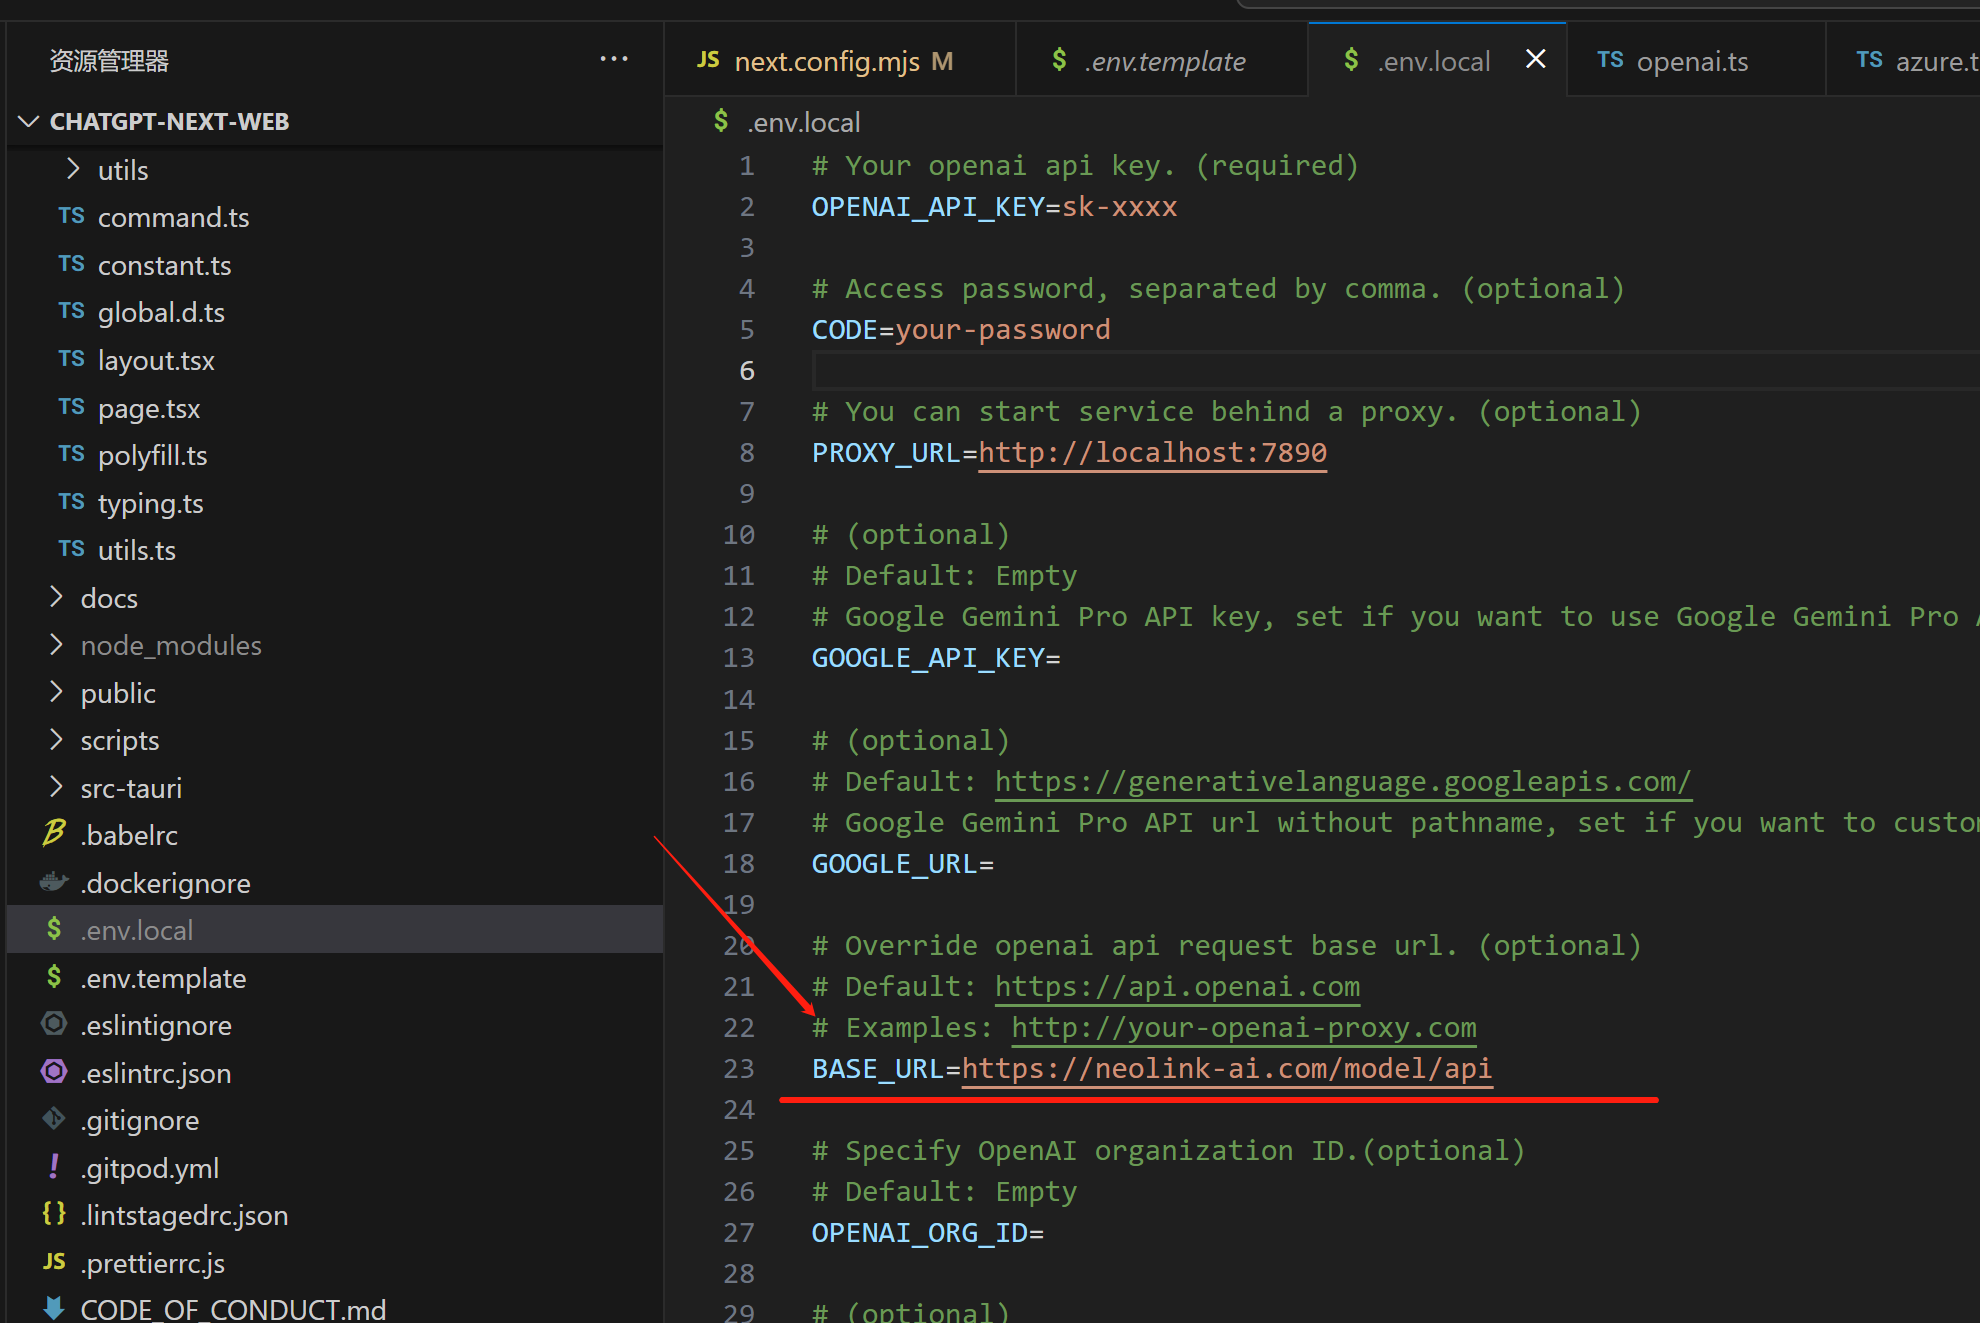
5. Start the Project
- Start the project in the
ChatGPT-Next-Webfolder. The first startup might take a bit longer, so please be patient:yarn install && yarn dev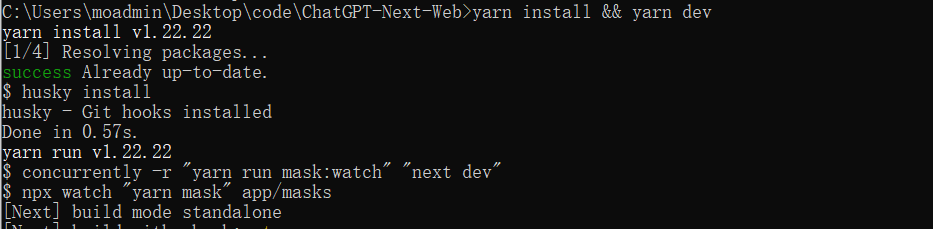
- Once started successfully, open your browser and visit the following address to access the homepage:
http://localhost:3000/
6. Update Configuration
-
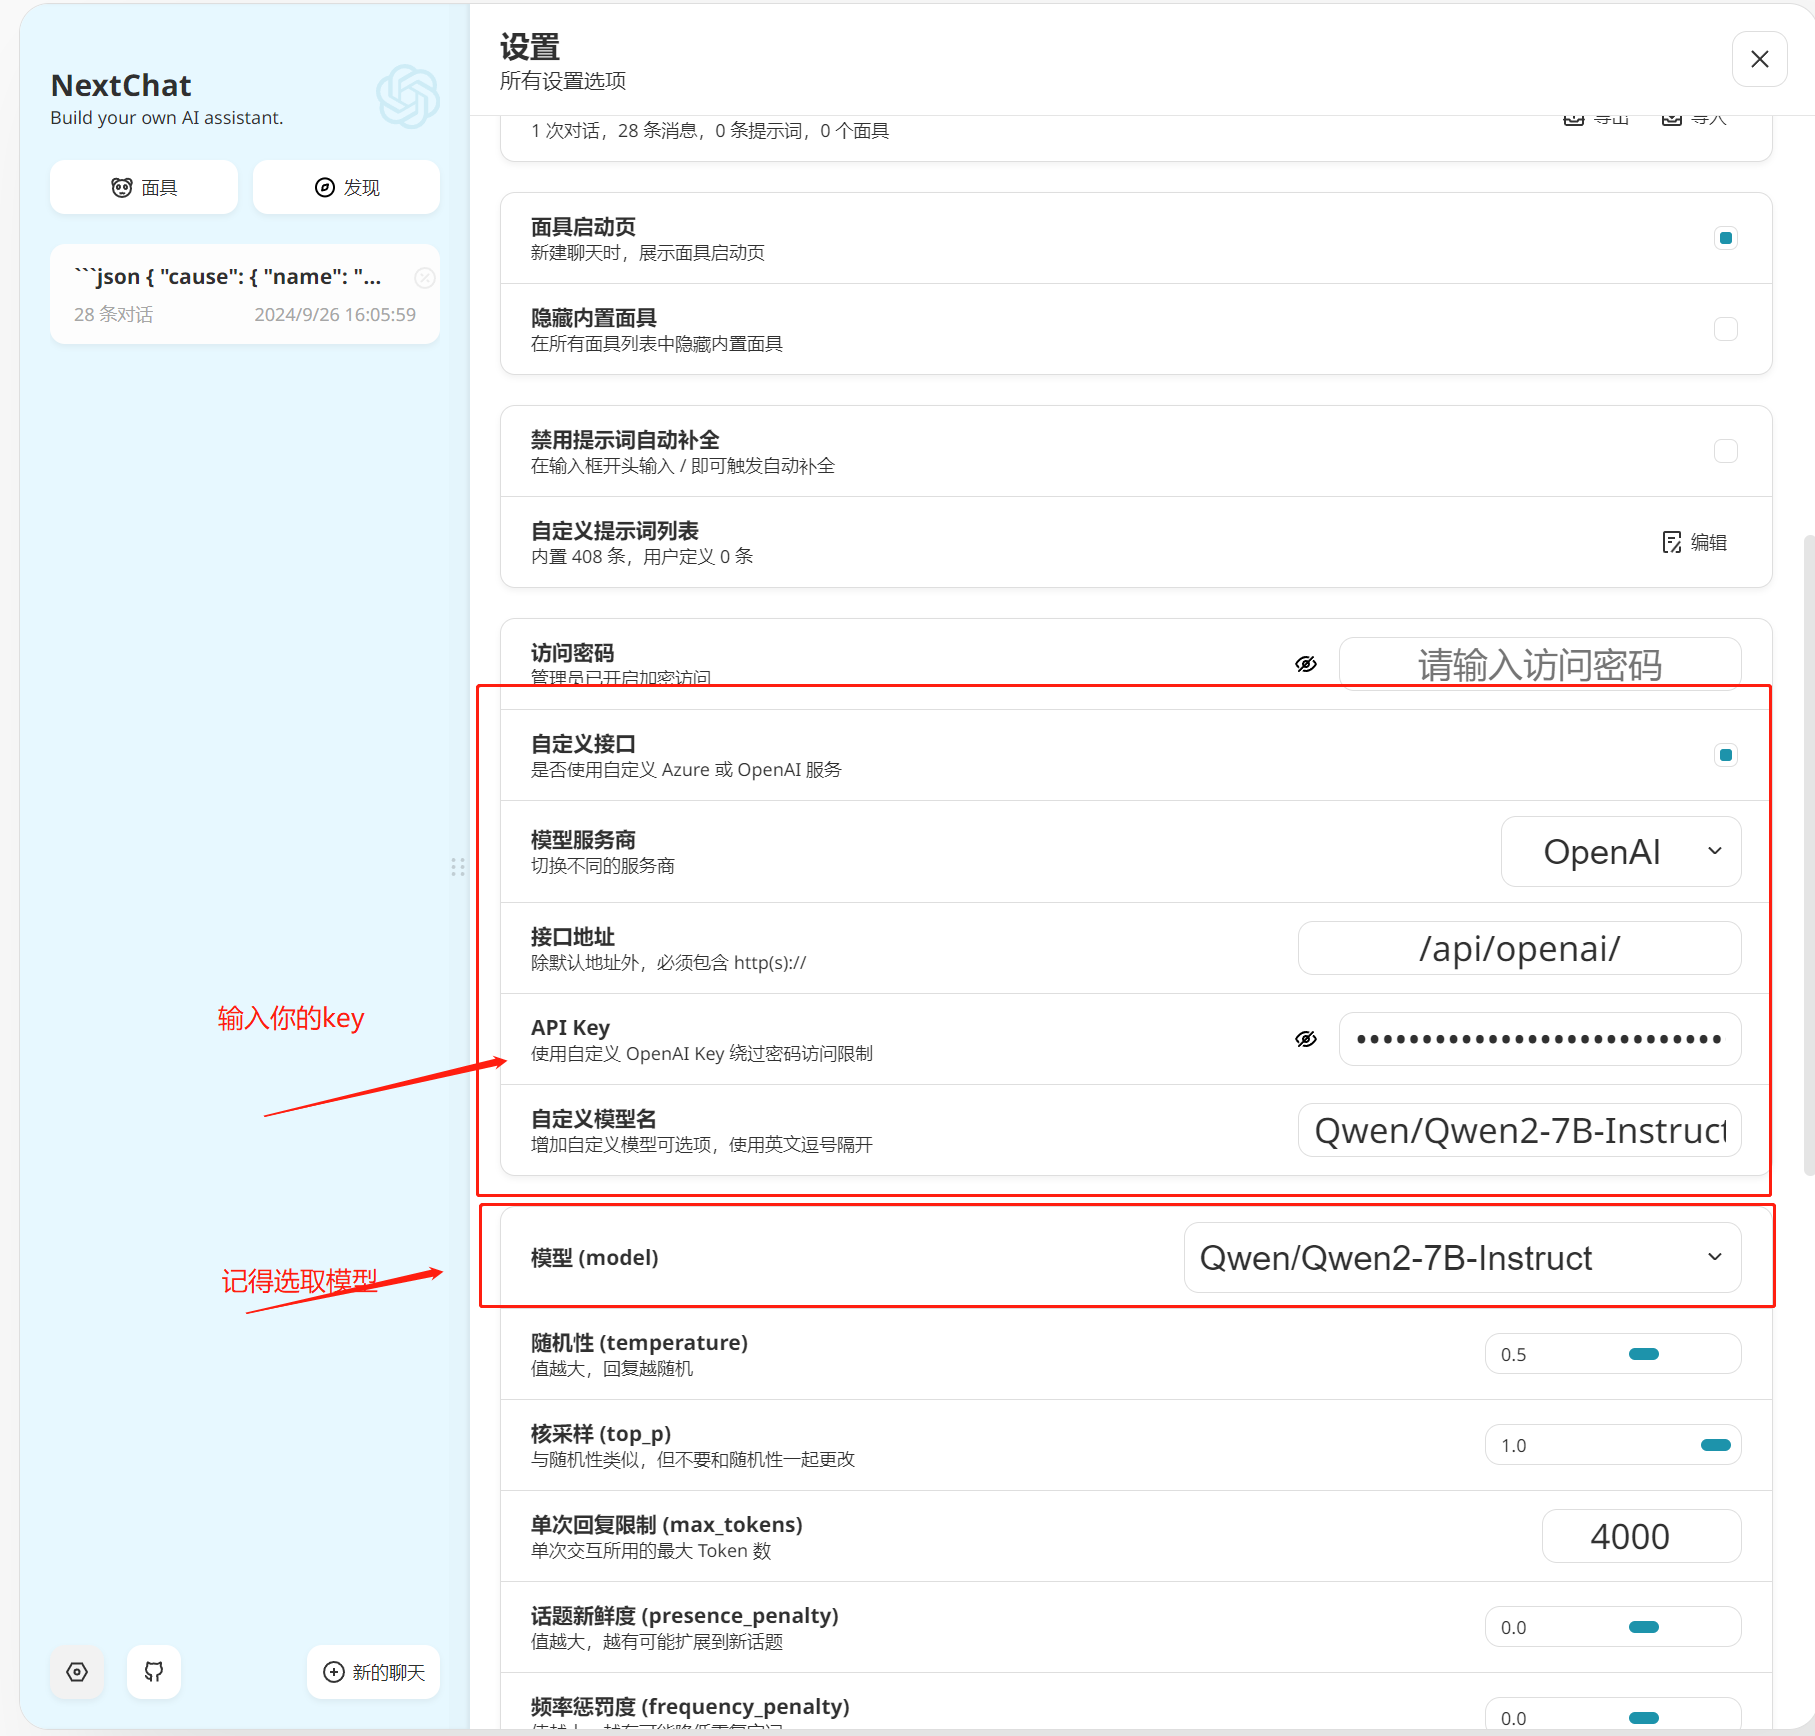
In your browser, go to http://localhost:3000/#/settings to open the settings page.
-
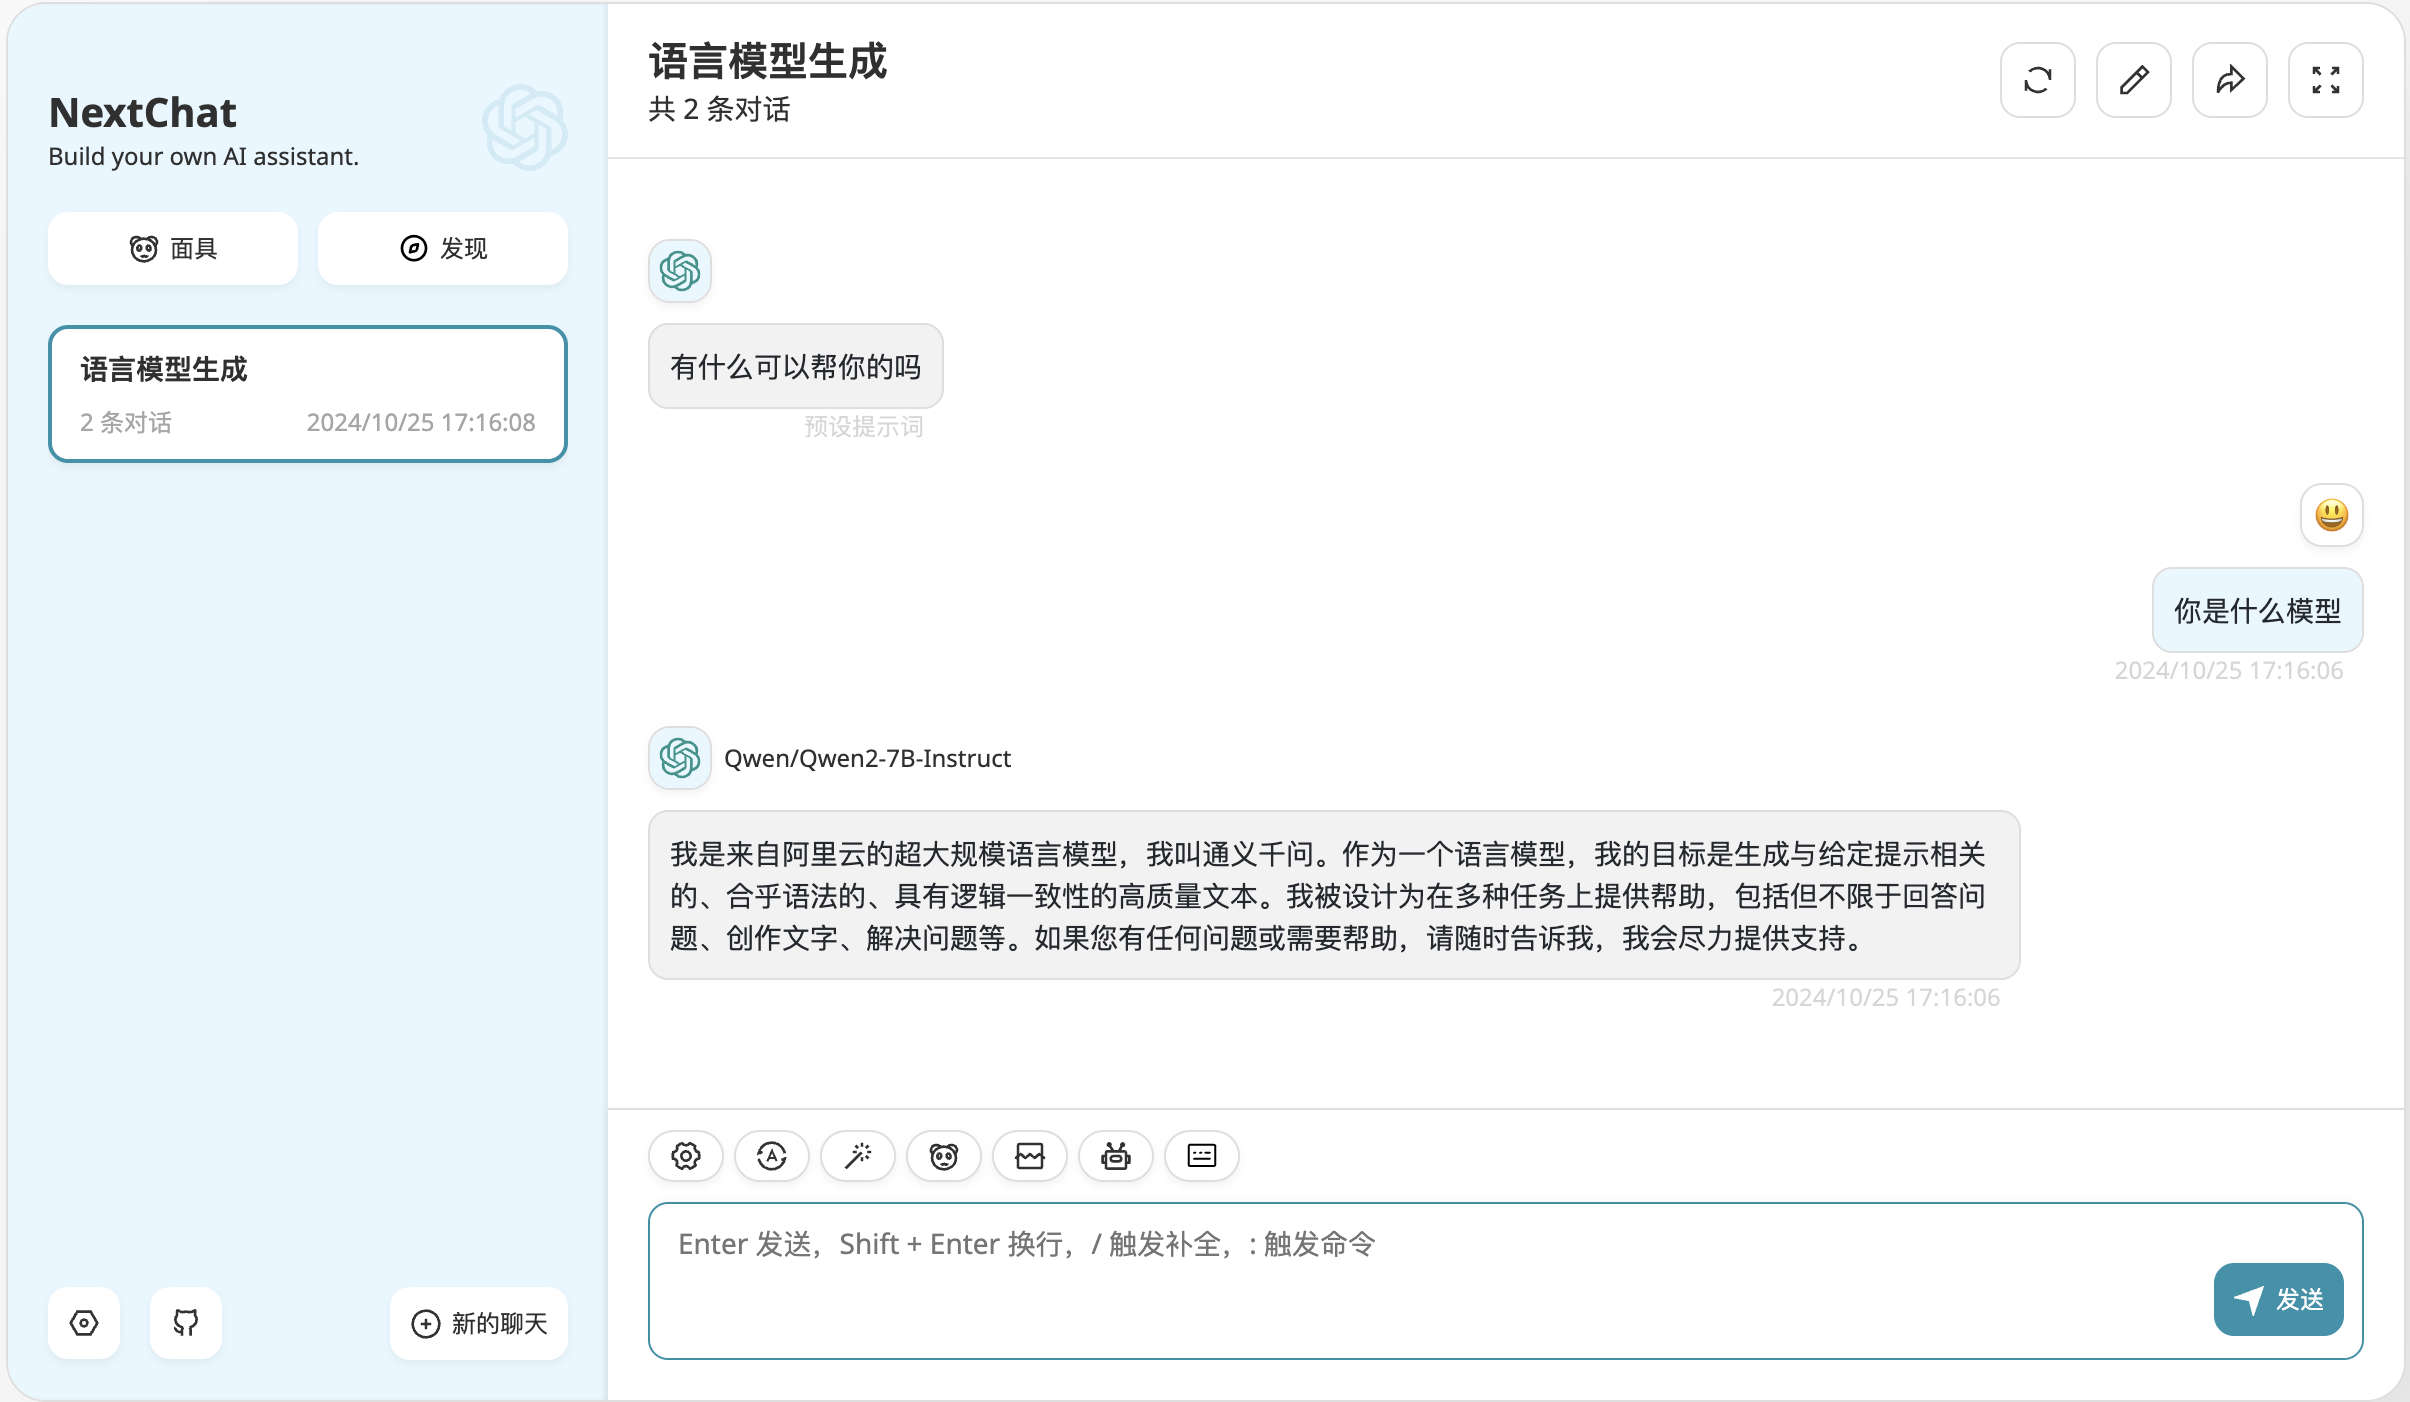
Enter the API Key you created earlier and select the corresponding model (e.g., Qwen/Qwen2-7B-Instruct).
-
Return to the homepage, and you can now start conversations with the model.
By following the steps above, you have successfully deployed your personalized ChatGPT service. With continuous upgrades from the demo.cdc.datenfab.com platform, your AI assistant will become even more powerful, bringing you unexpected surprises and value. Visit demo.cdc.datenfab.com to explore more possibilities today!