ComfyUI
ComfyUI is a powerful and flexible graphical interface tool designed for managing Stable Diffusion models. It allows users to build and manage complex inference workflows through a simple drag-and-drop node interface. ComfyUI supports various model formats, such as checkpoint, Lora, and ControlNet, and enables model combination and optimization. It is ideal for model inference, image generation, and deep learning development tasks.
This guide will walk you through deploying the official ComfyUI image on the demo.cdc.datenfab.com platform.
Deployment Steps
1. Create a Computing Instance
First, log in to the demo.cdc.datenfab.com platform and follow these steps:
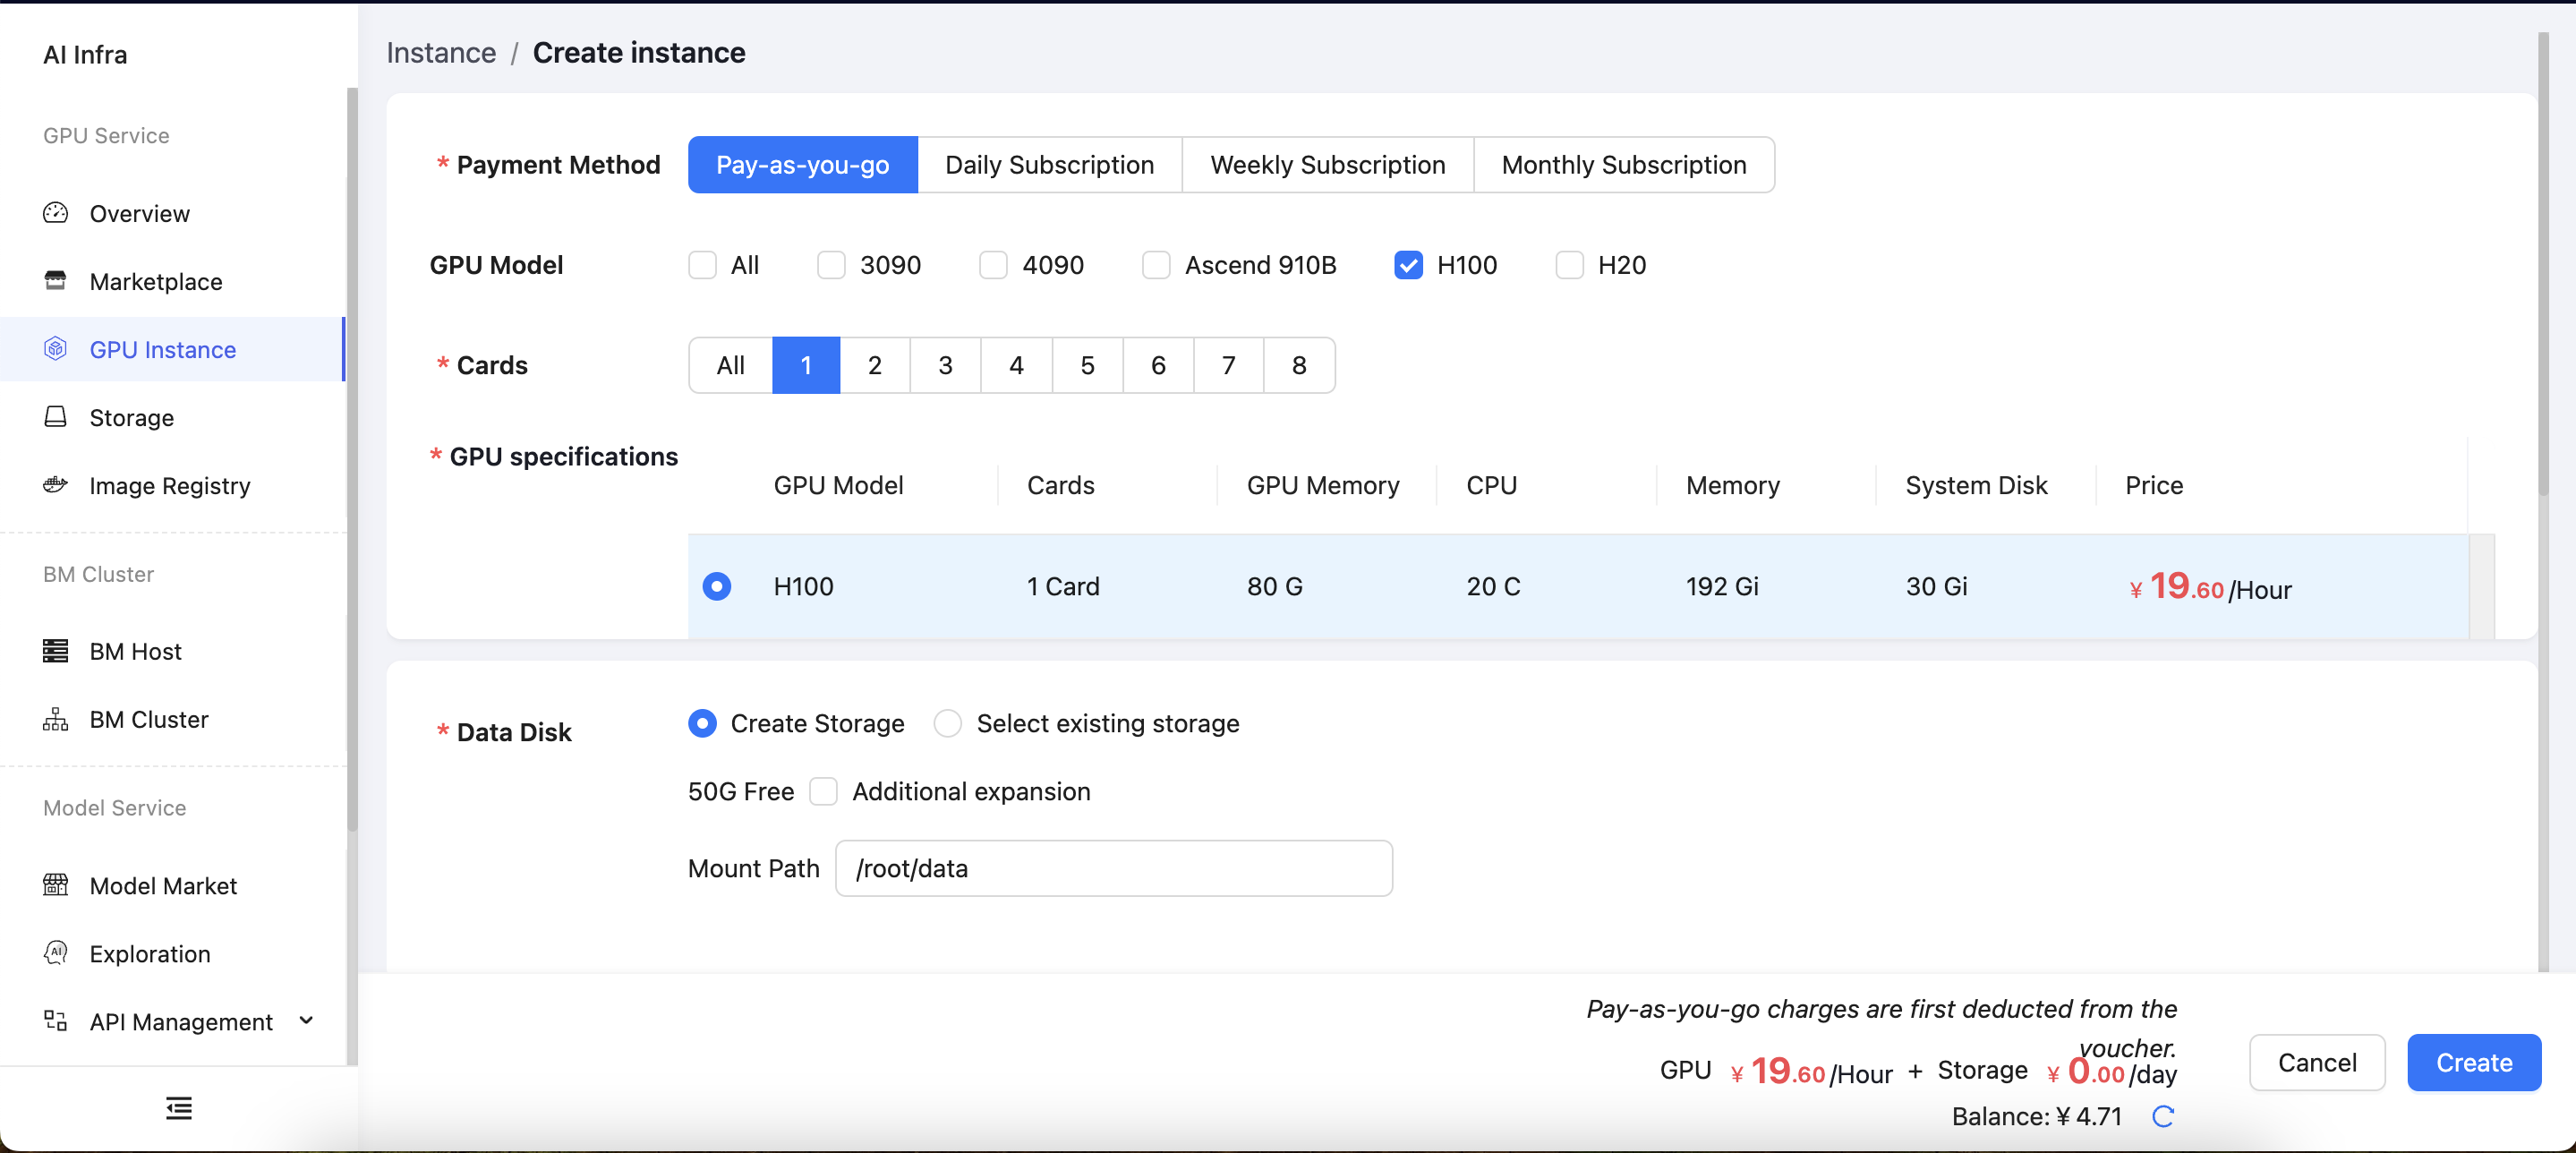
- In the main interface, navigate to GPU Instance and click Create.
- Single GPU mode is recommended, as multi-GPU mode currently does not support ComfyUI deployment.
- GPU recommendation: 4090, which offers the best price-performance ratio and compatibility. 3090 and H100 are also supported, but H20 is not yet available.
- Do not modify the data disk configuration, and keep the default mount path.
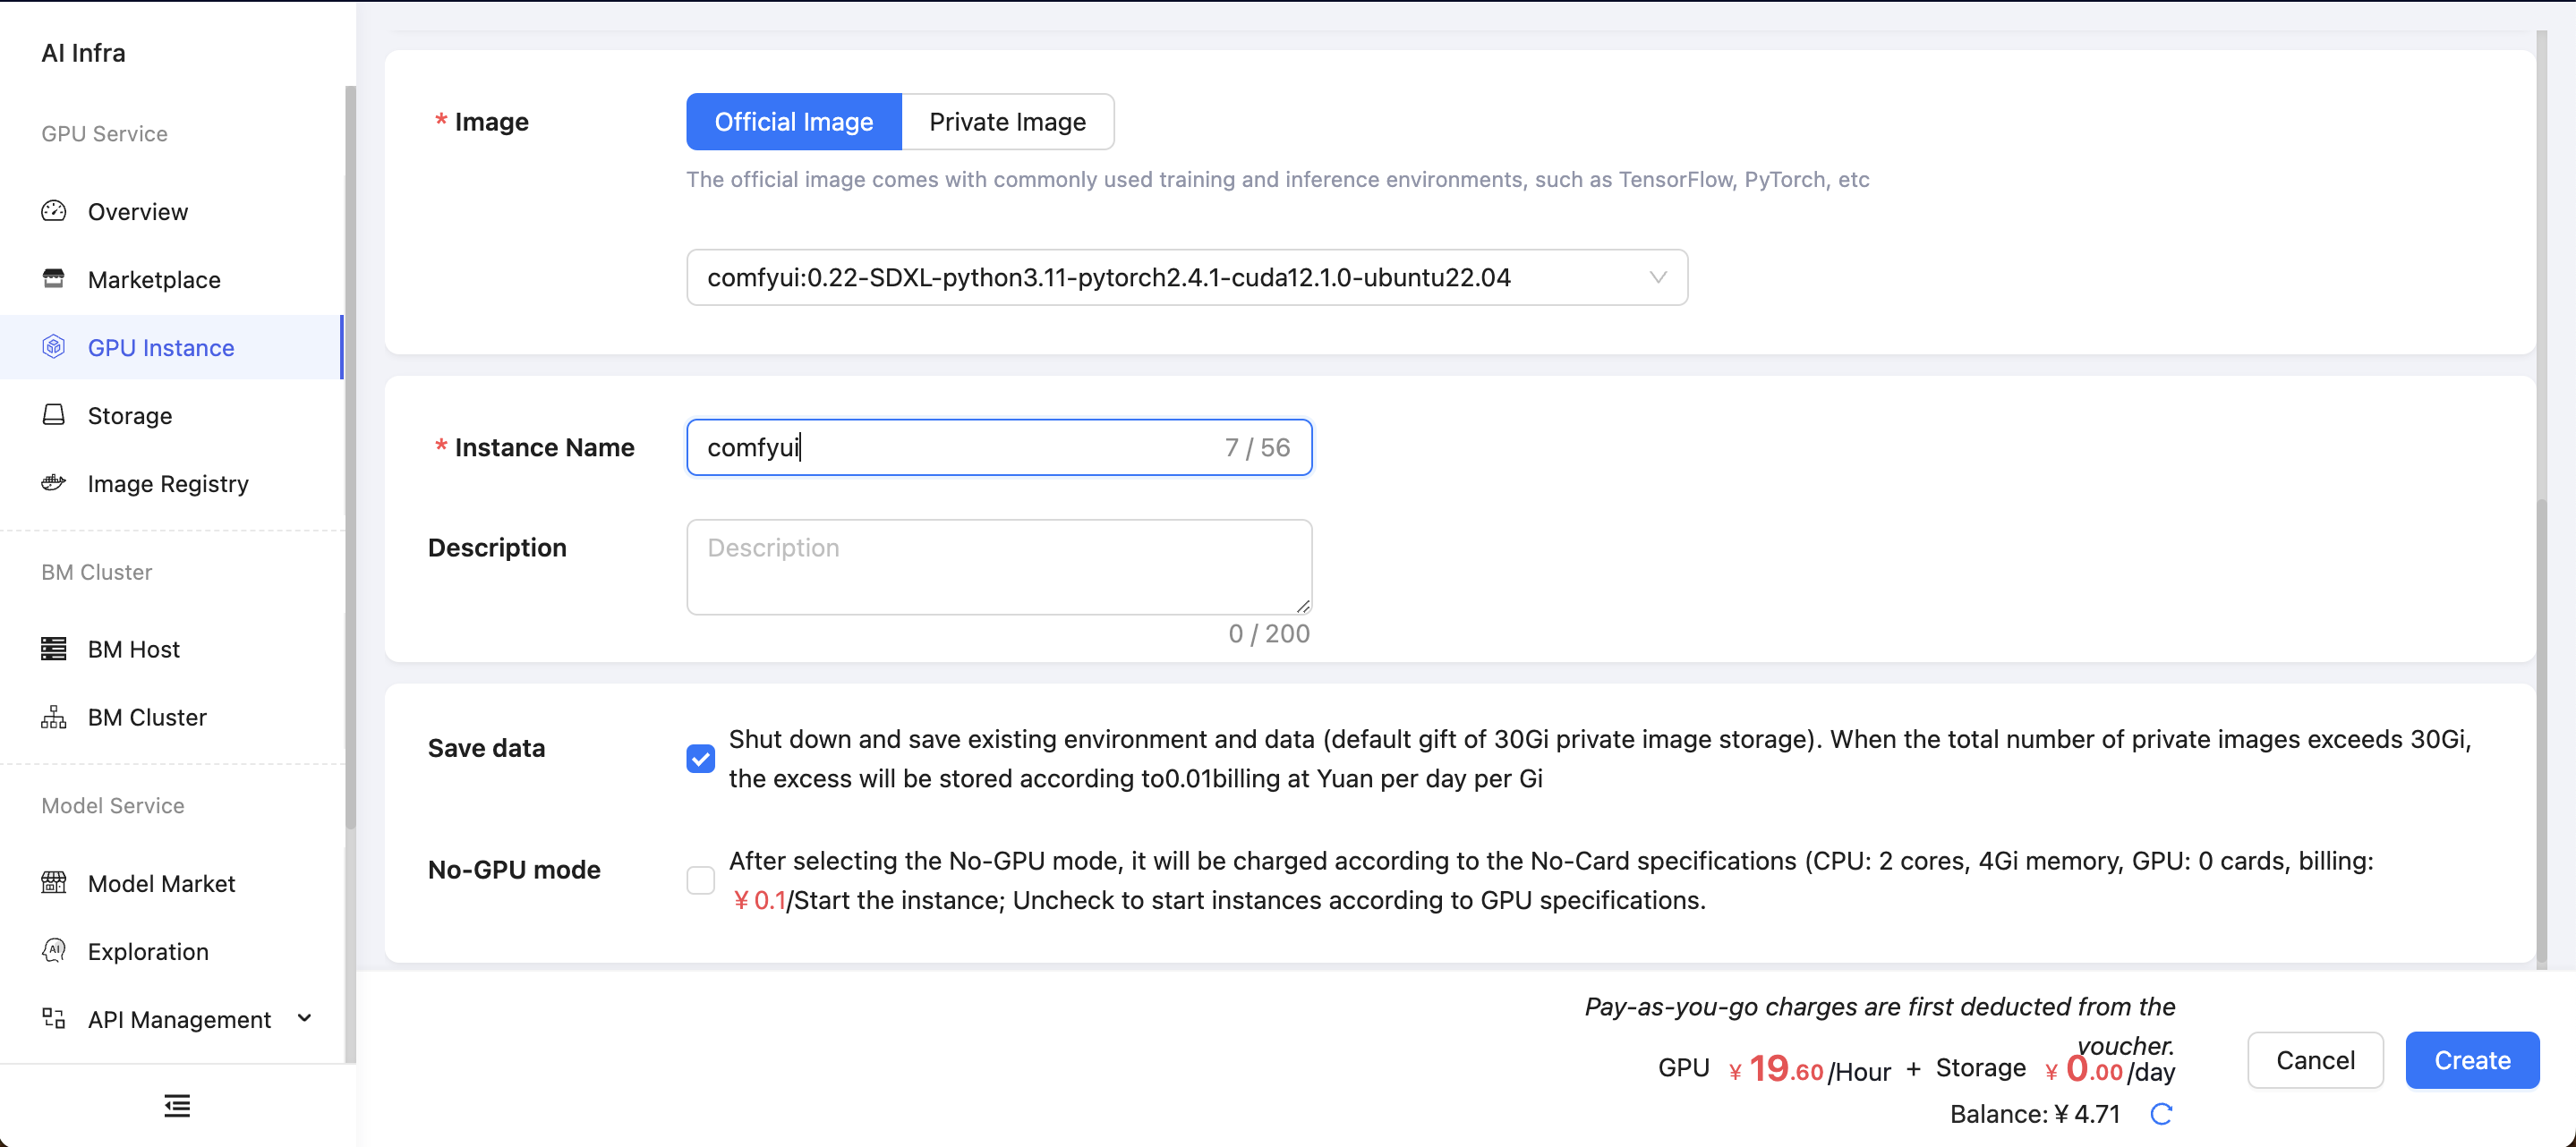
- In the image selection, choose the official image with the following version:
comfyui:0.22-SDXL-python3.11-pytorch2.4.1-cuda12.1.0-ubuntu22.04
- Enter the instance name and verify that all other parameters are configured correctly.
Example screenshots:
2. Deploy the Instance
Before clicking the Create button, ensure the following settings are completed:
- Uncheck the no-GPU mode to ensure the GPU is properly utilized.
- Do not modify the data disk mount path to ensure the smooth deployment and operation of ComfyUI. After completing the above steps, click the Create button. The system will start deploying the instance, which may take a few minutes depending on resource availability.
Example screenshot:

3. Complete the Deployment
Once the instance is created, you can launch ComfyUI using the built-in tools on the platform. Follow these steps:
- Go to the GPU Instance page on the
demo.cdc.datenfab.complatform. - In the deployed instance, find the Built-in Tools option.
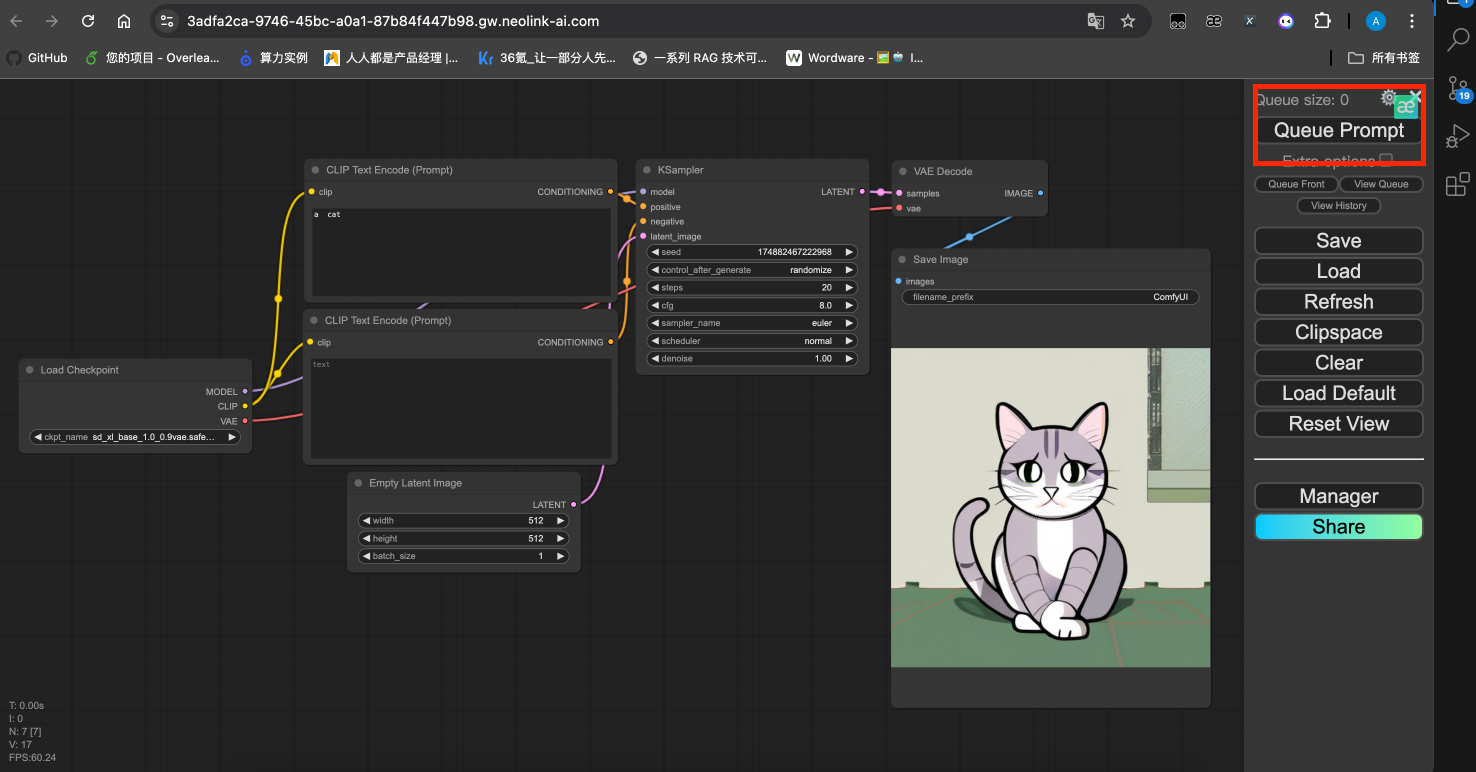
- Click ComfyUI to open the deployed ComfyUI image.
- Click Queue Prompt to start generating images.
Example screenshots:

For detailed tutorials, refer to the official documentation: ComfyUI GitHub.
Once launched, you can use the web interface for model inference and development, with all configurations and dependencies ready for immediate use.
Uploading Checkpoint Files
We will use the ghostmix_v20Bakedvae.safetensors model as an example to demonstrate how to upload checkpoint files. For detailed upload instructions, refer to the official documentation: Data Storage -> Storage Management -> Large File Upload.
1. Upload the Model
Upload the model using the large file upload guide Data Storage -> Storage Management -> Large File Upload. The upload process may be slow due to the file size, so please be patient.
2. Move the File to the Target Folder
Uploaded files are stored in the data disk, so they need to be moved to the checkpoint folder.
-
In the deployed instance, find the Built-in Tools option and log in using SSH with the provided credentials.

-
Move the file to the
checkpointfolder.
3. Use the Model
Refresh the ComfyUI image to select the ghostmix_v20Bakedvae.safetensors model for creative tasks.

By following these steps, you can successfully deploy and launch ComfyUI on the demo.cdc.datenfab.com platform, upload your own model files, and leverage ComfyUI’s features for development and model inference.