Create GPU Instance
Compute instances are commonly used for algorithm development and model fine-tuning. If you are working with a small dataset, you can choose a single-GPU instance or an 8-GPU full machine instance. The platform provides local data disks and associated file storage. After completing your development or fine-tuning using the terminal, you can download your results and release the compute instance.
Steps
-
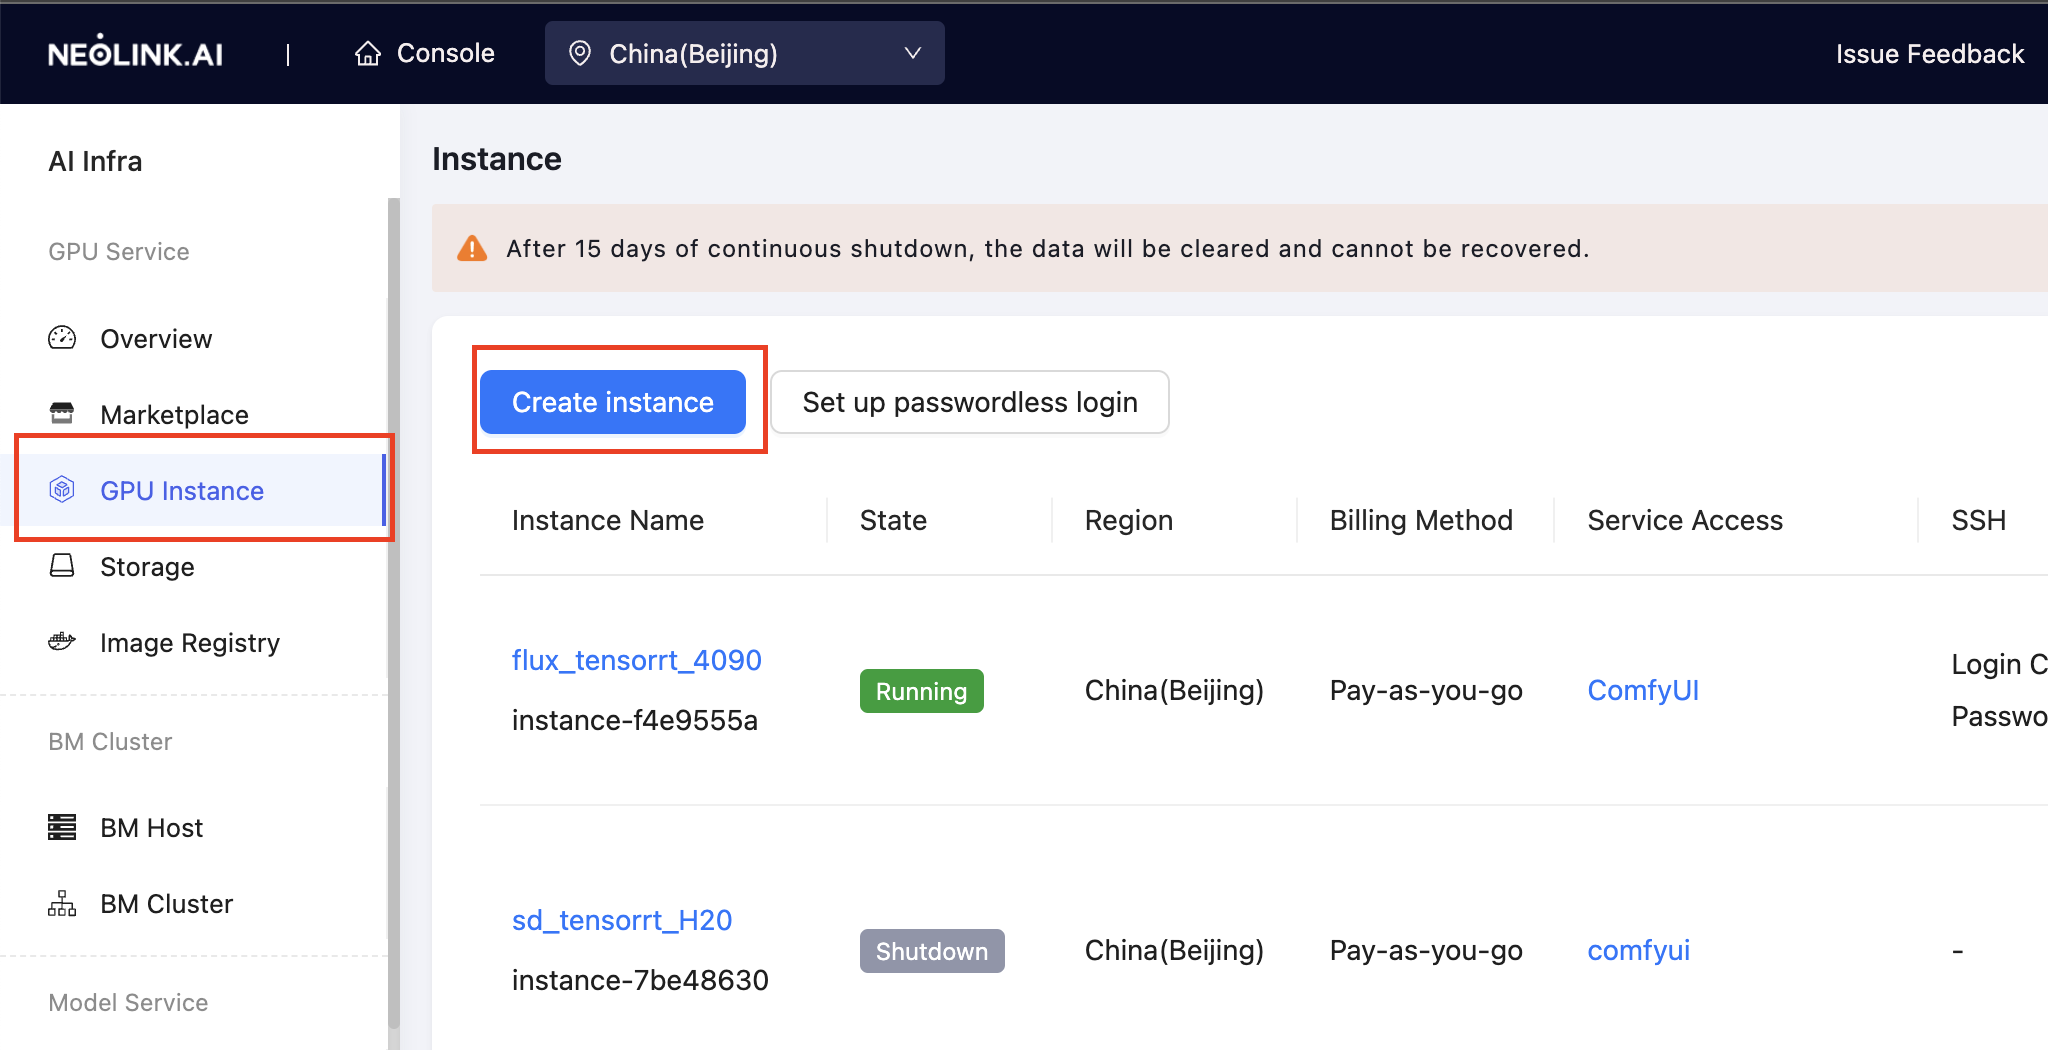
Navigate to GPU Instance from the left sidebar and click Create Instance.
-
On the Create Instance page, select the Payment Method (pay-as-you-go, daily, weekly, or monthly billing), GPU Model (3090, 4090, H20, H100), GPU Card, and GPU Specification. Choose an Image (with built-in deep learning frameworks), and click Create. For instructions on creating a private image, refer to the Images section. If you require additional storage for your data, adjust the disk size accordingly.
NOTE: Since instances with H100 GPUs cannot access the internet, we have provided customized images (with the -h100 suffix) for these instances. These images redirect
pipandaptto local mirrors, ensuring smooth package and dependency installation even in an offline environment. The local mirrors contain the same packages as the Tsinghua repository.
-
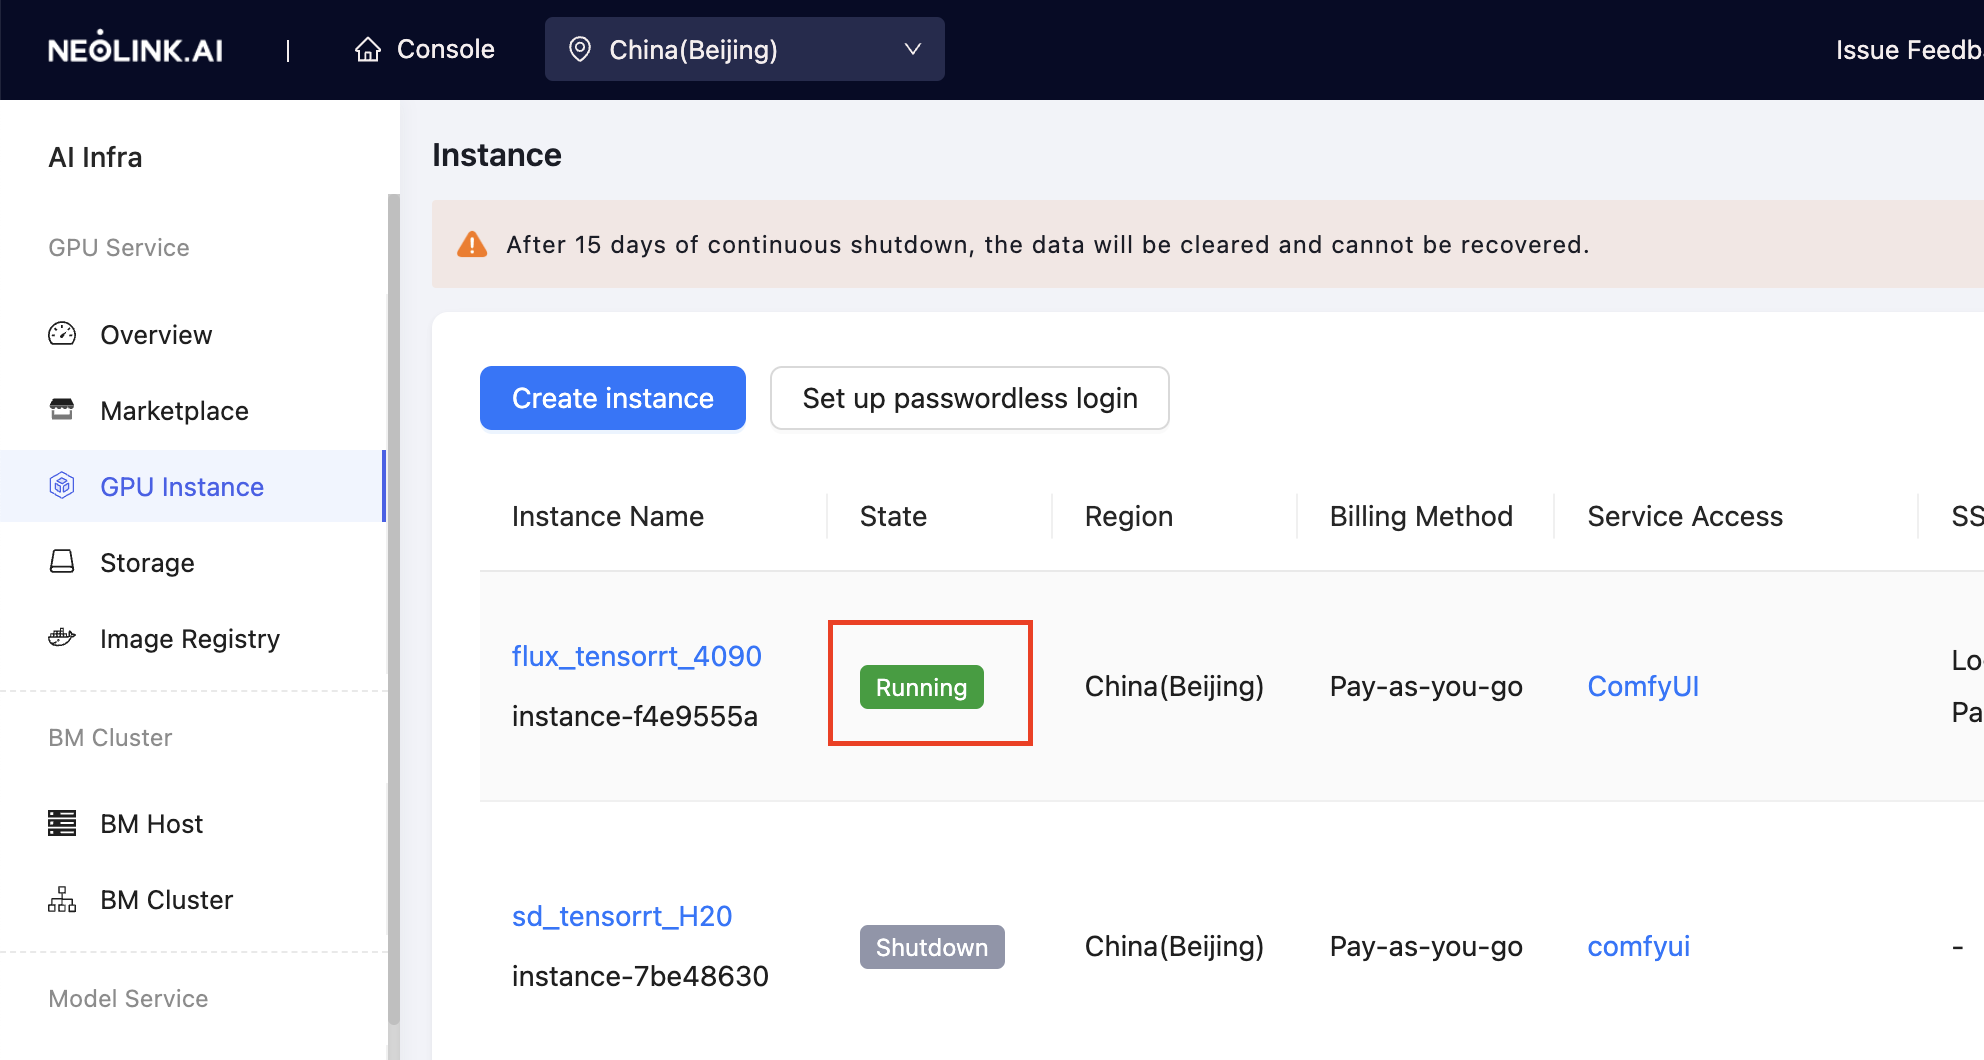
Return to the GPU Instance page and wait for the instance to be created. The created instance will appear in the list with the status Running.
-
After the instance is created, you can access it via JupyterLab or SSH for development and fine-tuning.